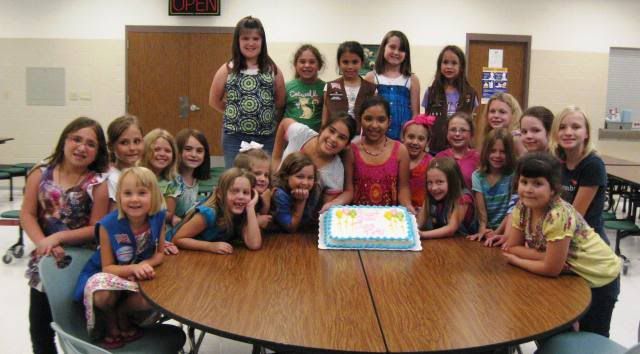
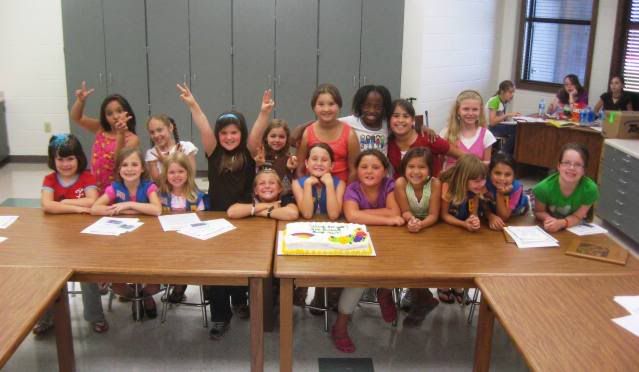
As part of our Garden Project to honor our former Superintendent, Mr. McMath, as well as give the staff and students of London ISD a special area, the girls suggested making stepping stones for our garden area.
Troop Leaders Teri and Lisa pre-mixed the cement prior to the girls' arrival to the troop meeting and all the supplies were ready to go for the girls to grease their stepping stone form form, help fill it with concrete, pat it down with a hand float, tap the sides with a wooden spoon to get air bubbles out, and the fun part, DECORATE! The girls had fun picking out a variety of glass half marbles, glass shapes, colored stone, and ceramic tile pieces to create their own personal masterpiece that will be a part of London for years.
This would be a fun family project to do at home! Have your Girl Scout be in charge of teaching the rest of the family how they made their stepping stone. Full instructions on how we made our stepping stones below.


"How to MAKE A STEPPING STONE" instructions~ (what we did)
Supplies:
a mold (found at The Dollar Tree... a round plastic 8" tortilla holder!)
petroleum jelly
hardware mesh (we used the small 1/2 " mesh, pre-cut into approximately 4" x 4" square)
"Quickrete" concrete (80 lb bag made SIX, 8" x approx. 2" deep stepping stones)
old container (for scooping concrete)
Wooden spoon (we bought a 4 pack at The Dollar Tree since we go through them)
(optional) something to protect your work surface if not on the ground
wheel barrow (or something to mix concrete in)
hoe or appropriate sized shovel to mix concrete
items to decorate or embellish your stepping stone (we used glass items bought at The Dollar Tree, Hobby Lobby, and on-line)
For person mixing concrete (or any persons close by):
dust mask
protective eye wear
gloves when working with concrete (if any gets on bare skin, wash immediately with warm, soapy water.)
Water Hose and Water close by!
The first thing you should do is to protect your work surface and yourself. Lay down some newspaper, plastic sheeting, or an old tablecloth or shower curtain. Weather permitting, you can make these outside! Always wear eye protection and rubber gloves...
Mix you concrete in a wheel barrow according to instructions. Be careful not to put too much water in your mix. When mixed, your concrete should have the consistency of brownie batter.
Set your mold on your work surface. Apply a liberal layer of petroleum jelly to sides and bottom (cooking spray can work too).
Start scooping concrete into the mold. Fill the mold about half full and smooth it down. Lay your cut piece of screening or hardware cloth into the mold and then finish scooping the cement into the mold until full. The hardware cloth (mesh) will help the stone keep from cracking over time.
Tap sides of mold with wooden spoon to release any possible air bubbles.
Smooth top of concrete with hand float (we actually had a concrete hand float, but you can use the back side of your wooden spoon.). By tapping the top of the concrete with the float and moving it in circular motion, you will work the gravel down and bring access water up. (this is good)
Now you can start decorating your stone. Be creative! If you make a mistake, you can simply remove the items, flatten out the top with the side of a craft stick or spoon, tap the sides to smooth, and start over again! If you want to do a hand print or write a message in your stone, leave your stepping stone alone to set up for 30 to 60 minutes before you make your hand prints or other prints in the cement.
Your stepping stone must now sit for 2 - 3 days without being disturbed - do not move it. If the weather outside is hot, lightly spray your stone down with a water hose several times over the 2-3 days to help it cure better. Once it is dry, you can gently pop it out of the mold. Voila!
Now, you can finish decorating it if you are planning on doing any painting. You can seal the top of your stepping stone with a clear acrylic sealer if you paint it.
IF YOU PAINT (which we did not do as a troop), you'll need to put you stone under cover and let your stepping stone sit for another week before putting it outside.
IMPORTANT: Wash all concrete materials and supplies OUTSIDE. NEVER WASH SUPPLIES WHERE IT WILL GO DOWN PLUMBING. The concrete will harden in the pipes... not a good thing!
When you place the stepping stones outside in their desired location, they should not be raised above ground more than about 1/2-inch so people don't trip on them and also so the stone doesn't break.
Photos of each Girl Scout with her stepping stone she crated for the school Garden Project will be posted in the near future.
Cost of this project: approximately $3.00 per stepping stone (depending on materials used for embellishment)

 Next, our task was to remove some newly laid sod. The school had recently installed a sprinkler system on the side of the school that our garden project is on. We knew the plan was to lay sod, but thought we would have our garden area down before the sod. Since the weather and mud kept us from our project, the sod guys got to their sod before we got to our garden, and laid right over the top of our location (they didn't know to leave it open). That's OK, the girls put on their gloves and began to work, work, work- relocating sod!


 The girls began to dig some holes for the shrubs...


 The girls worked hard and we are very proud of them. The Junior Girl Scouts will work this week to get this project to a place of being ready for the whole troop to place the bench in it's place of honor (center focal point) at our next troop meeting. We will also sprinkle some "Forget-me-not" seeds around the back side of the bench in hopes they root and bloom, in memory of Mr. McMath.


